Share
Pin
Tweet
Send
Share
Send
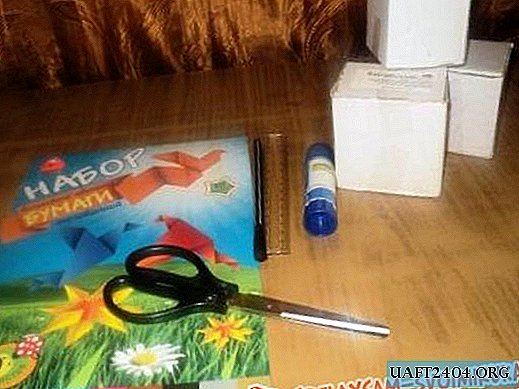
Take the following:
• A sheet of salad-colored pastel paper, A4 format;
• Paper for scrapbooking of two varieties in green and white colors (for children), different sizes;
• Color pictures for a newborn boy;
• A little watercolor paper for the inscription;
• Acrylic stamps: "Happy Jam Day", cake drawing;
• Black ink pad;
• White lace openwork;
• Rep ribbons, one blue with a baby print, and the second salad with white polka dots, both ribbons 1 cm wide;
• Narrow light green satin ribbon for ties;
• Cutting out of butterflies and green dill, round openwork cutting of children's paper;
• Flowers and leaflets from glued fabric of yellow, green and swamp colors;
• A large flower of green hydrangea;
• Green and salad half beads;
• Colored half bead with a diameter of 6 mm;
• Figured hole punch;
• Glue gun, pencil, ruler, scissors, double-sided tape, PVA glue, elastic, sewing machine.

We take a sheet of pastel paper and cut out a rectangle of 17 * 27 cm from it. Now we turn it horizontally on the larger side and divide it into three parts of 9 cm.


We make bending lines with scissors, fold the workpiece, on the third side we cut obliquely, as in the photo. Now prepare the top decoration.


We cut out the figures from the pictures and scrapbook paper, the sizes as in the photo, we get these figures.


We glue one scrapbook paper on the other with double-sided tape, sew it on a sewing machine. We glue the picture with the bear on the scrapbook paper, we also sew the picture with the machine.
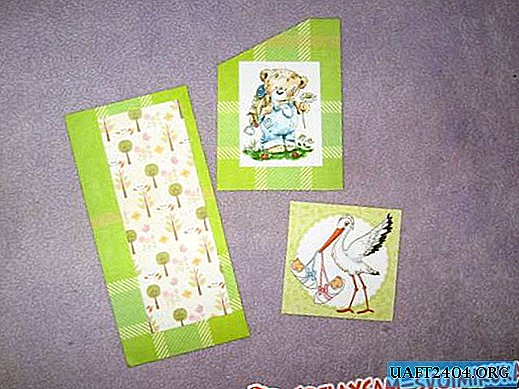

Glue the picture with the stork onto a large rectangle of double scrapbook paper, stitch it with a machine. We cut a length of about 11 cm from each rep ribbon, also cut a strip of white lace 11 cm and two strips of 15 cm from a narrow satin ribbon for a bow.


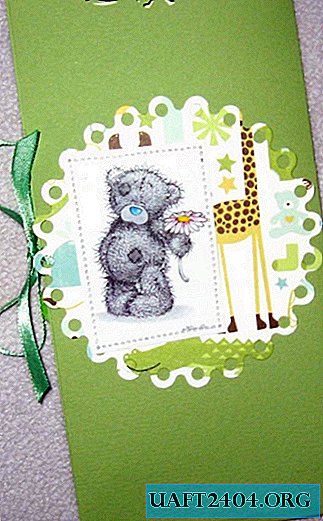
We apply lace and ribbon to the front rectangle, sew them together with a machine. We attach the second rep ribbon below under the picture with the bear and also sew it. Glue ribbons for bows on the front and back sides of the envelope on a pastel blank. Now, on double-sided tape, glue a large rectangle on the front, with the bear in the inside, and on the back, in the center, glue a round cut-out of children's paper, on top of the paper is a picture of a Teddy bear and sew the picture along the edge of the machine.


Glue PVA glue the pocket of the envelope. With a puncher we make a bow inside the envelope from above. We stamp with a cake stamp inside the envelope and outside in black ink.


On watercolor paper we stamp "Happy Jam Day", cut out and tint the inscription around the edges.


Glue the inscription under the picture with tape. It remains to glue the decor.


Glue butterflies, flowers, petals, dill and beads, as in the photo.


Handmade envelope is ready. Thank you for your attention and good luck!


Share
Pin
Tweet
Send
Share
Send