Share
Pin
Tweet
Send
Share
Send
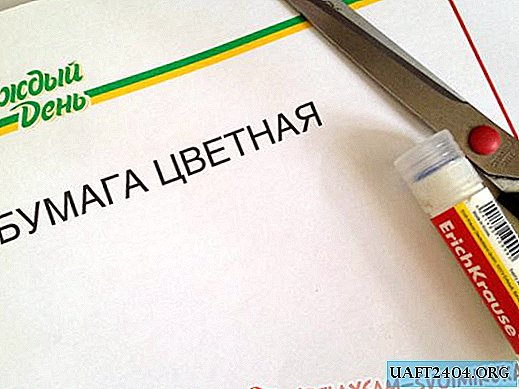
We will need:
• a sheet of plain white paper,
• double-sided colored paper in 5 colors:
- green
- yellow
- blue
- red
- Orange,
• pencil
• scissors,
• glue stick.
Manufacturing steps:
1. Prepare a few sheets of green paper. Place your child’s palm on the paper and circle with a pencil. Using scissors, cut out the resulting silhouette. We need 12 such green hands.

2. Apply glue to each palm on one side. We spread on the white sheet of paper the bottom row of the herringbone of 4 lap palms.

3. Next, spread the palms in rows, gradually reducing their number from row to row and shifting closer to each other.

4. The top row will consist of one palm. This is how the Christmas tree in the finished form should look like.

5. Cut out a star from red paper. From paper of the desired colors, cut out balls in any quantity.

6. Decorate our Christmas tree with a red star and colored balls.

Here is such a fluffy and elegant Christmas tree made from our hands. And most importantly, we made it fast and fun.
Share
Pin
Tweet
Send
Share
Send

