Share
Pin
Tweet
Send
Share
Send
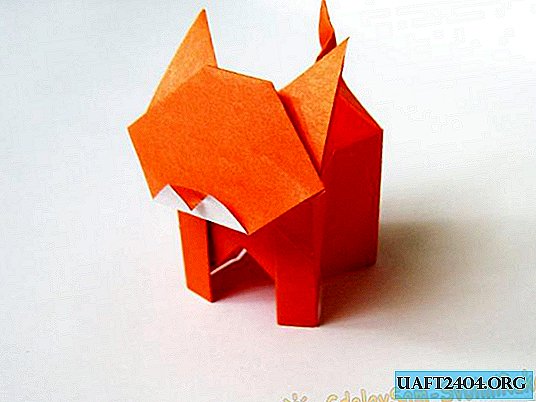
How to make an origami box in the shape of a cat
You will need colored paper in large quantities, scissors and double-sided tape. To fold one product, you need to prepare two squares: 15x15 cm and 7.5x7.5 cm (0). First, we make the torso of a cat, and then move on to making the head.
1. Take a larger sheet, fold 2 times, first in half, then diagonally.

2. Bend each of the corners to a point located in the center.

3. Turn the craft over and fold it in half horizontally.

4. Grasp the paper in both hands, and hold the right and left triangles between your thumb and forefinger.

5. Connect the upper corners by folding the rhombus formed inside the product.

6. Bend the triangle in front, to the right, the one that is behind - to the left.

7. You will see that you have a "pocket" divided in half.

Put your fingers in each of the halves and spread the paper, gradually folding it down.

Flip and repeat the action.
8. Fold together the bottom triangles on each side.


9. Connect the ribs on the right and left with the line that runs in the middle. Flip and repeat the same.

10. Straighten the folds made in step 9.

At the bottom of the craft, you got two points, fold the paper to them as shown in the figure. Then hide inside.
11. Fold the part in half from the left side to the nearest vertical line.

And again, focusing on the resulting width.

Repeat with the right half of the craft. After turn over and perform similar manipulations.

Do not forget that the triangles must be hidden from the bottom in the middle (see step 10).
12. At the top of the triangle, make two folds to the center.

No need to try to connect the faces with the middle line, they should be located at a small distance from it.
13. Grasp the top of the triangle and fold the paper up first, straighten it, and then down. Thus, you will get two folds (indicated by arrows).


14. Lift the triangle by holding the paper where the paper clip is located. Bend the part slightly.


15. Turn the product over and bend the triangle down and then up.


16. Take the craft in your hands and use your fingers to spread the paper in the middle. Origami cat torso ready.

To make a head, you need a second sheet.
1. Bend it diagonally, then align the bottom corners with the top of the triangle.


2. Make a small triangle, bend the upper corners down and a little diagonally.

3. Form a fold line and hide the part inward. Turn over, slightly bend the lower triangle two times.

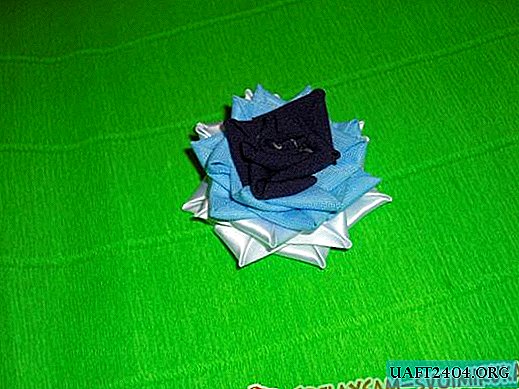
The head of the paper cat is ready, now use double-sided tape to fasten it to the body. The nose (trapezoid) can be painted or glued with white paper to make the craft look more interesting. Now all that remains is to pack the candies in small bags, tie them with a beautiful bow and put inside. Origami gift box in the shape of a cat is ready.


Share
Pin
Tweet
Send
Share
Send