Share
Pin
Tweet
Send
Share
Send
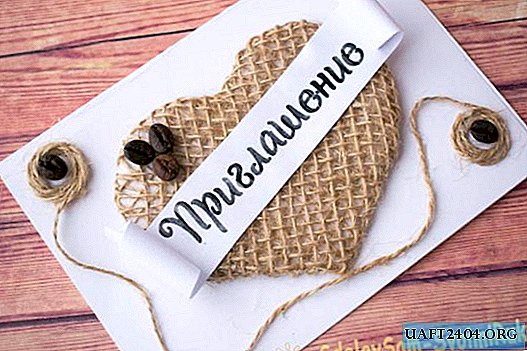
What you need:
- Thick white paper, one color from 2 sides;
- Stationery knife;
- Ruler;
- Twine;
- Sackcloth;
- Glue gun or "liquid nails";
- Scissors;
- Coffee beans.
1. We take a sheet of thick paper or cardboard of A4 format and cut it in half. To teach a clear and even line - attach a ruler and draw a clerical knife.


2. Fold the sheet in half. From the same paper we cut out a heart. We do it by eye, but it should occupy most of the area on the front side of the card.


3. On one side, glue a few with a piece of double-sided tape, turn it over and put it on the burlap, pressing well. We turn over and glue the tape again around the edge of the heart, bend the corners of the burlap and glue them.
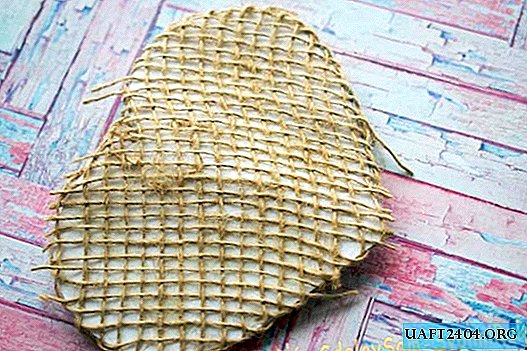
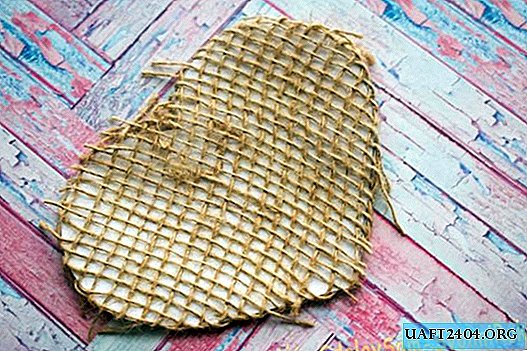
4. As you can see, due to the large cell, one layer is not enough. On the front side we again apply burlap, try to line the second layer, sewn across the lines of the first. On the reverse side, glue the burlap with glue gun, carefully bending all the strings. Stretch the material well; it should not hang. The second layer on the front side is not glue.
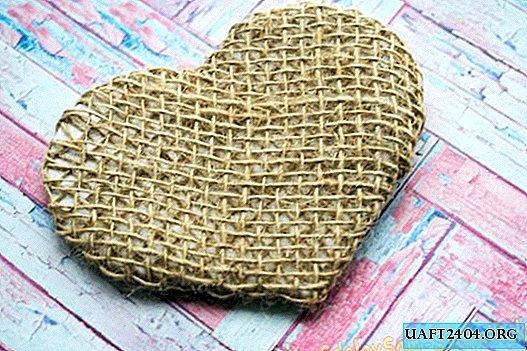
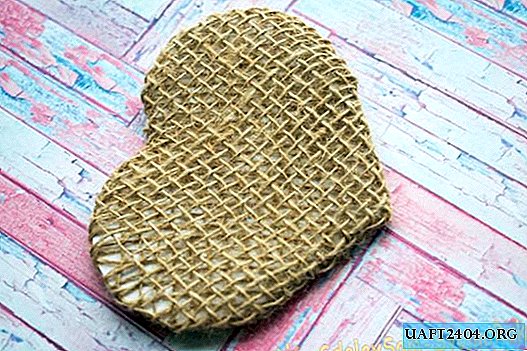
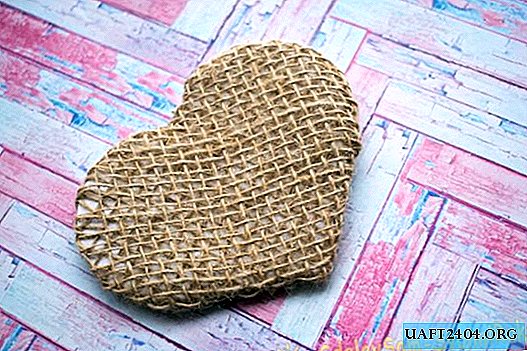
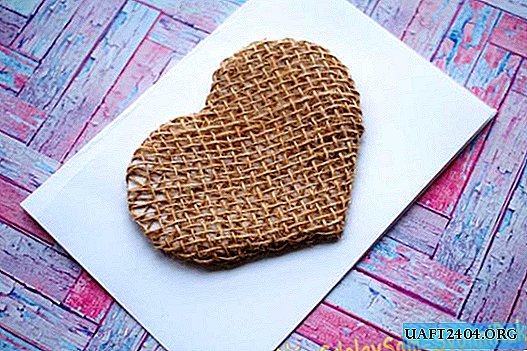
5. Heart glue on a cardboard blank.


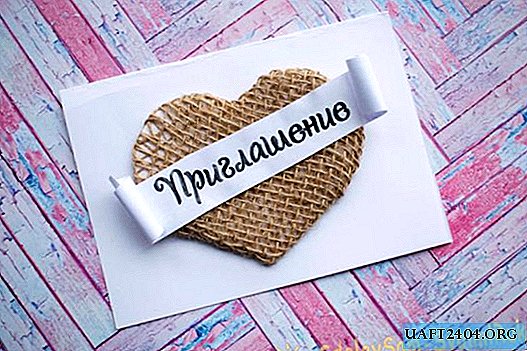
6. Print the word "Invitation" in advance, when you cut it, then from the letters "P" and "E", step back 3 cm.

7. Scissors wrap the ends of the paper and glue on the heart.
8. Take the twine, wrap 4 rings on the index finger, fasten with glue. Steps away from the ring 35 cm, cut the thread. On the reverse side, make the same ringlet.


9. Glue the first ring to the upper left corner, the second to the lower right. Bend the thread as you wish by gluing it in several places to the paper.


10. Take 5 coffee beans. Glue 1 piece in each ring, note that the risk for coffee should look in one direction. From the remaining 3, make a flower. Our wedding invitation is ready.


Share
Pin
Tweet
Send
Share
Send

