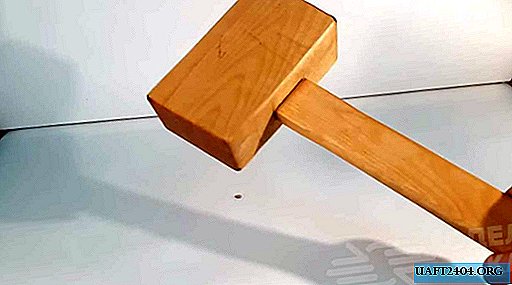
Joiner's mallet is a necessary tool in any home workshop. Especially when you have to work with wood blanks. Very often, a carpentry mallet is used in conjunction with chisels or other hand cutting tools.

To make a mallet for a home workshop, it is best to use solid wood. For example, in this case, the author took as a basis birch blanks. However, hornbeam, ash or maple are also suitable.
The mallet consists of two main parts: the handle and the hammer. At the same time, note that the firing pin is not integral - it consists of several separate elements that are glued together.

First of all, it will be necessary to file the blanks that will be used to make a carpentry mallet. In this case, you need one bar for the handle and four blanks for making the striker.
The main stages of work
After the preliminary fitting, if everything is fine, you can proceed to gluing the blanks for the hammer. Two smaller workpieces are glued to the sides of the wide workpiece, and then the master glues the last, fourth workpiece from above.

For this, ordinary PVA carpentry glue is used. We clamp everything with clamps, and leave until the glue completely dries.
At the next stage, a handle is inserted into the hole in the striker. At the end, you need to make a small cone, since the hole is also conical in shape.

After the handle is inserted, we additionally wedge it with wooden wedges. Then we ennoble the instrument a little, after which you can use it.
For more information on how to make a carpentry mallet of wood with your own hands, see the video on the website.

