Share
Pin
Tweet
Send
Share
Send
For the manufacture we need:
- Cardboard.
- Scissors.
- A pencil.
- Glue.
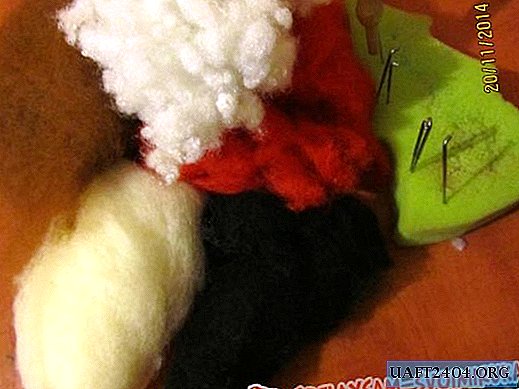
- Cotton pads.
- Woolen threads of white and pale yellow.
- Big bead or polystyrene.
- An iron ring from a keychain or aluminum wire.
- Children's elastic for hair yellow.
- Mascara with sparkles for eyelashes, this is as a decoration. You can use something else.
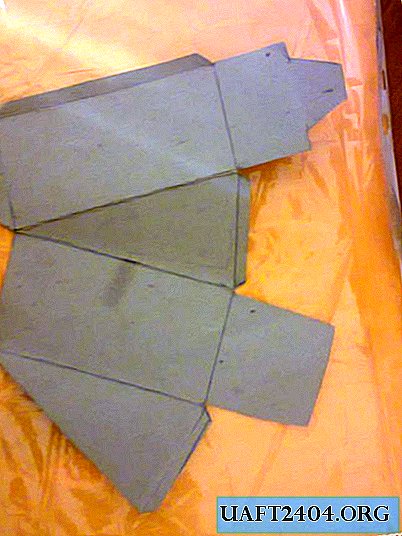
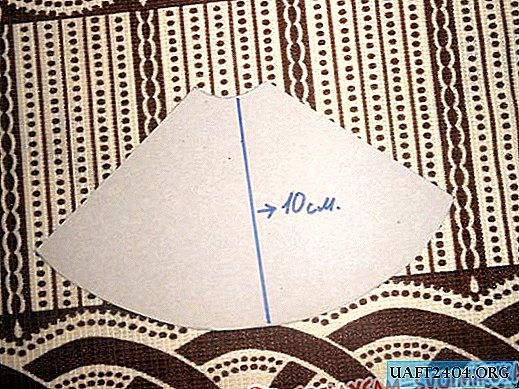
Let's get started. First, we will tackle the body of an angel. Take cardboard, draw a peculiar cone on it (as in the photo) and cut it out. The height of the cone I got 10 cm., You can make any height what you need.
Now glue the part. Here's what I got.

The frame of the body is ready. Now we need cotton pads. We disconnect each disk into two disks and glue them with an overlap on the cone, starting from the bottom of the body, as shown in the photo.


Thus we glue the whole body. Each top layer is also glued with an overlap on the bottom. Glue the cotton pad on top so that the hole that was there becomes closed.


For the time being, leave the body to the side so that the glue dries well. In the meantime, let's make head We’ll take a large bead for the head, but it can easily be replaced with a foam ball. In general, we wrap this bead with white woolen threads, previously having smeared it with glue.


So we got a head, only hair is not enough. For hair, take light yellow wool threads, although you can take threads of any other color. Cut a short thread. In the middle we smear it with glue and glue it on top of the head. The ends of the thread were not glued. Thus, we glue a few more threads.


At the back, I glued my hair a little differently. We cut the thread again, only twice as long as it was originally, fold it in half, grease the fold with glue and glue it to the back of the head.

In the same way, glue the desired number of threads.

Here is what happened.

We also put our heads aside, let the glue dry. In the meantime, we will make wings. We need cardboard. In fact, wings can be of any shape. I made them in the shape of a heart. To do this, I hand-drawn a heart of the right height and cut it out.

We take cotton pads, tear them into small pieces and begin to stick to the wings. You need to start gluing from the edges, in the middle we glue last.


After the glue dries, glue the second side of the wings. When the glue dries from the second side, we glue the wings to the back of the angel.

Need and hands angel. Take one cotton pad, and collapse it with a cone, fix the edges with glue. Such details need two pieces. Cut the top of the cone at an angle, as shown in the photo. Hands are ready.

Glue your hands in place.

Glue the head.

Now you can do the decoration of our figurines. Decorate to your taste and color. I took the mascara, not simple, with sparkles, and decorated the angel dress a little.

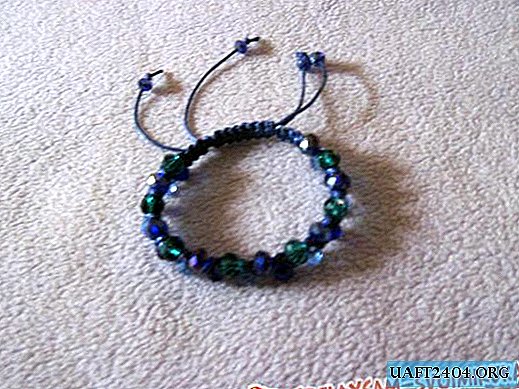
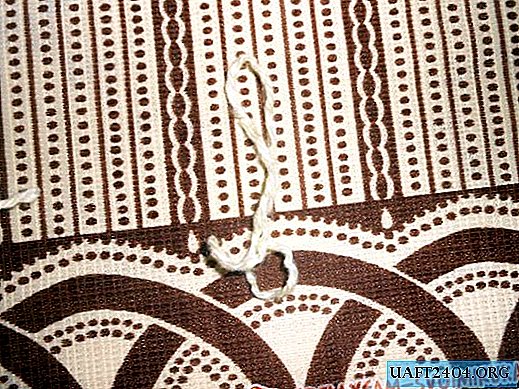
I almost forgot about the halo. Take a ringlet (you can use a key ring or roll a wire with a ring), glue it with glue and put on an elastic band for hair. Like a car tire to drive. Then we glue our halo to the head. Angel is ready.


Here is a rear view.

I hope you were interested in making such an angel with me. Goodbye, see you soon.
Share
Pin
Tweet
Send
Share
Send